How to Layer Textures for a Cozy Boho Living Room in 7 Steps
I start with a chunky jute rug as my foundation, then layer textiles on my sofa—think knit throws and mixed-texture pillows. Next, I hang woven wall art above the couch for depth, add macramé plant holders at varying heights, and balance hard surfaces like stone with soft velvet cushions nearby. I create dimension by layering pillows from large to small, then finish with organic touches like driftwood and pampas grass. Mastering this seven-step approach completely transformed how inviting my space feels.
Design Highlights
- Start with a natural fiber rug like jute or sisal to anchor the room with texture and warmth.
- Layer chunky knit throws and mixed-texture cushions on seating to transform hard surfaces into cozy nooks.
- Add woven wall hangings above furniture, spanning two-thirds its width, to create depth and visual interest.
- Balance hard elements like metal frames or stone accents with soft textiles using a 60-40 ratio.
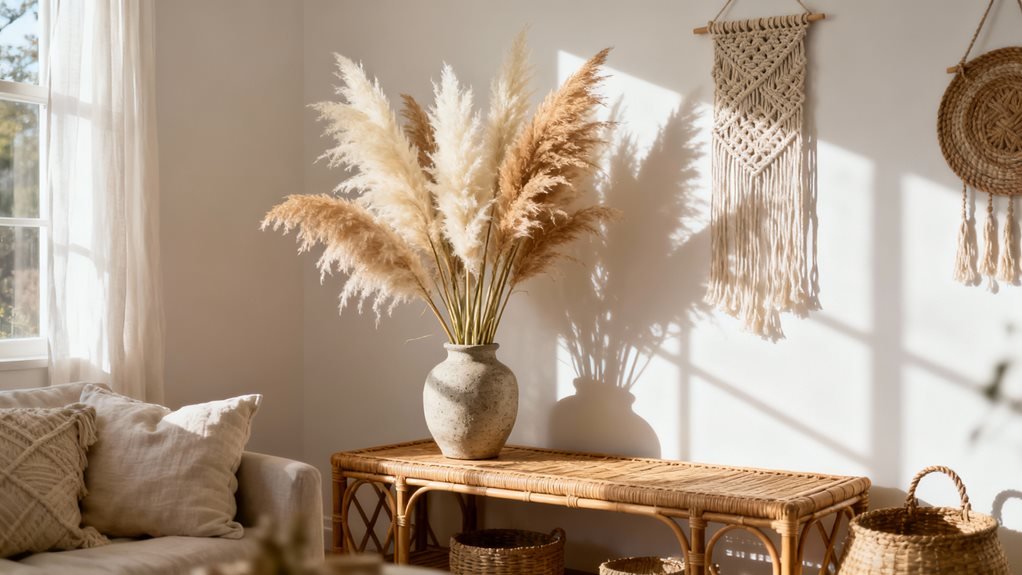
- Finish with organic elements like dried pampas grass, raw wood tables, and woven baskets for earthy warmth.
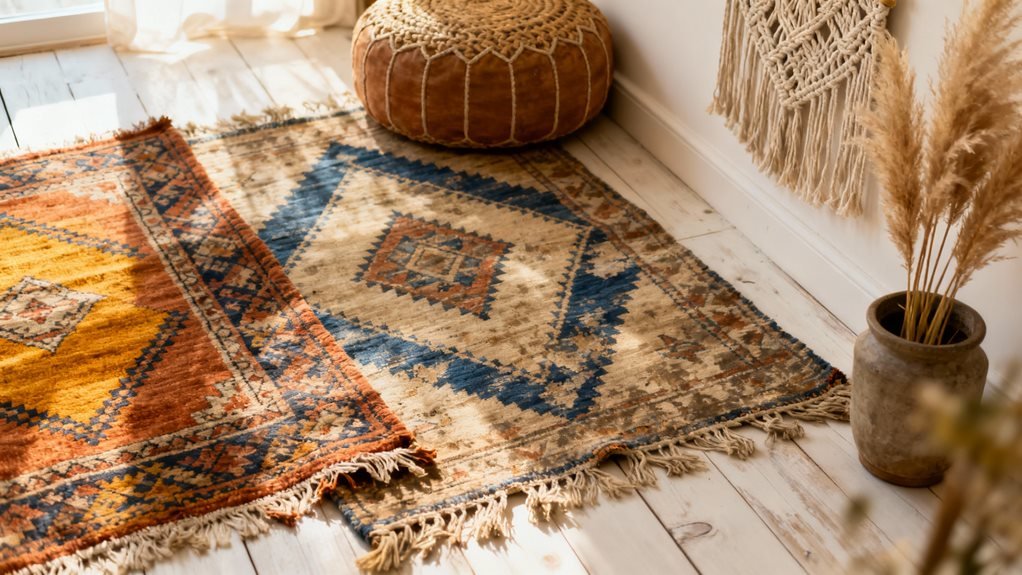
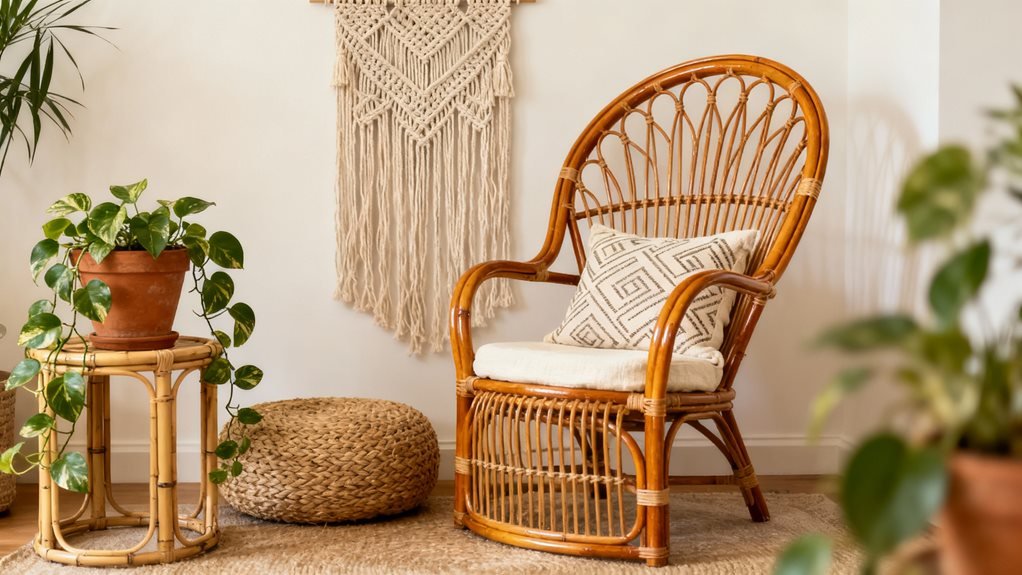
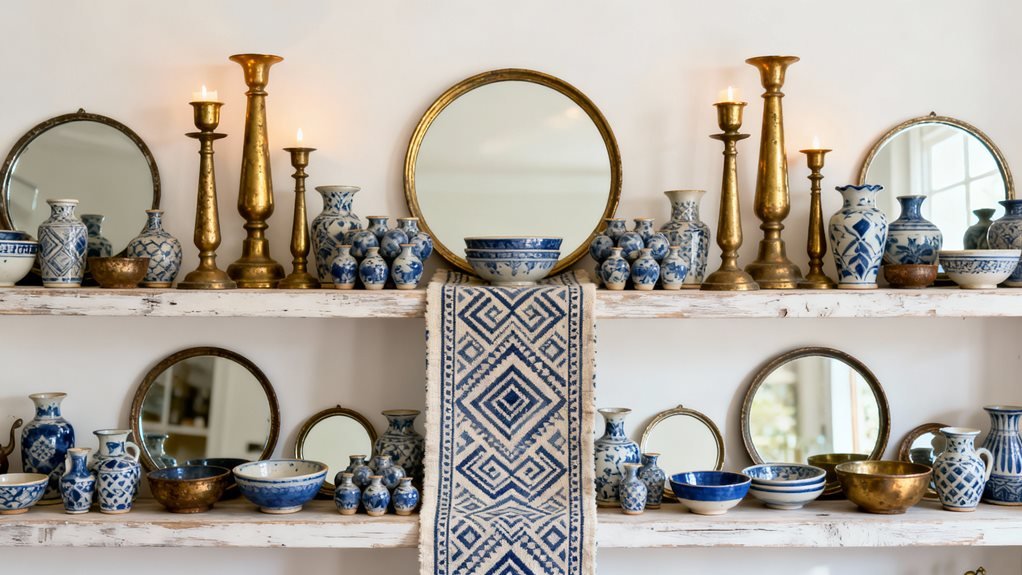
Start With a Foundation of Natural Fiber Rugs
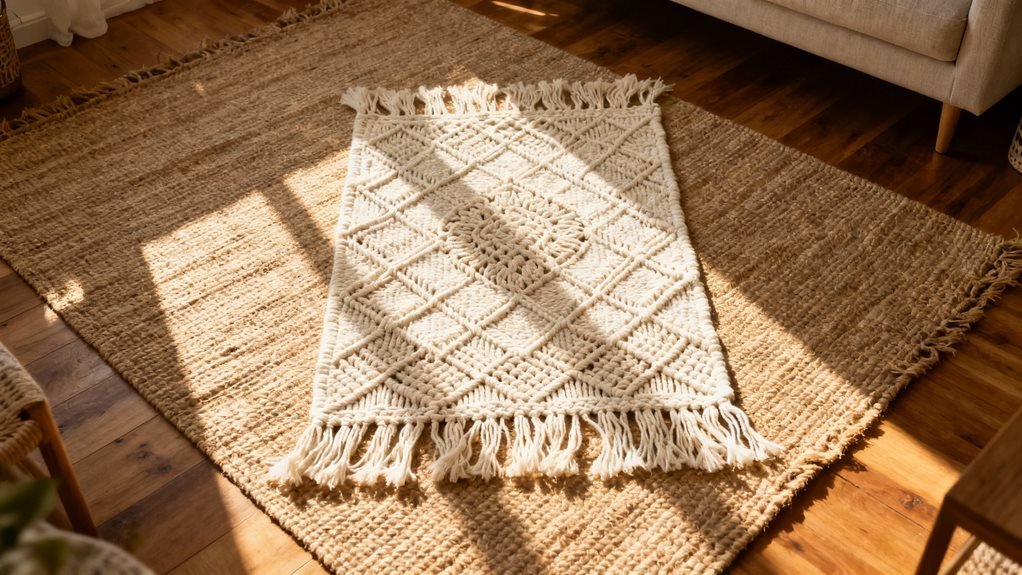
Why do I always start my boho living room designs from the ground up? Because natural fiber rugs create the perfect textural anchor for everything else you’ll layer on top.
I learned this after making the mistake of choosing my rug last. Everything felt disconnected and chaotic. Now, I begin with jute, sisal, or seagrass rugs that bring organic warmth to the space.
Here’s what works: Pick a rug that’s slightly larger than you think you need. Your furniture should sit at least partially on it. I’m obsessed with chunky jute rugs because they add dimension without overwhelming your design.
Pro tip: Don’t worry about stains. These rugs are forgiving and actually look better with age. I spilled coffee on mine last month, and honestly, you can’t even tell.
The texture and neutral tones create a canvas that makes your colorful throws and patterned pillows pop later.
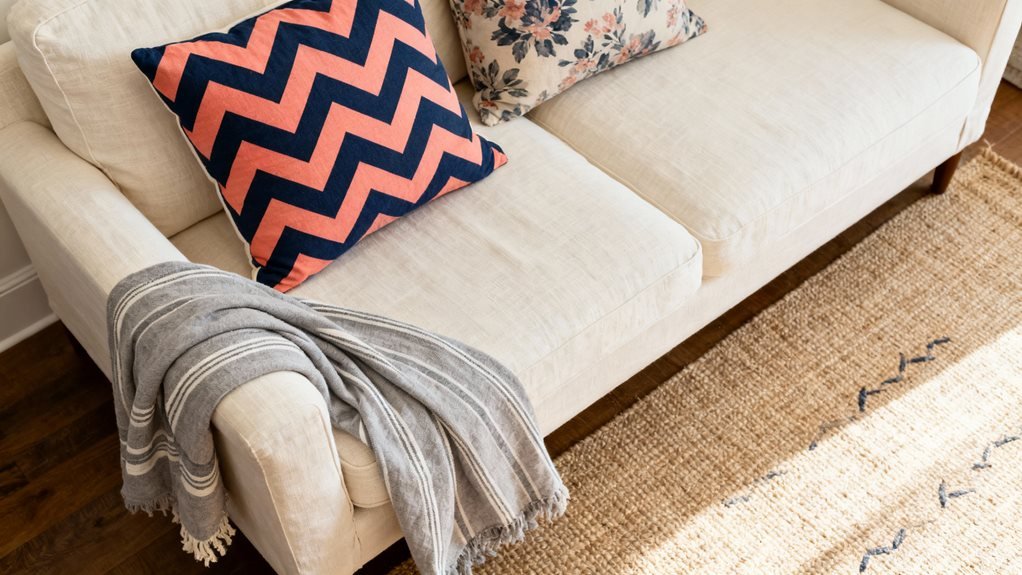
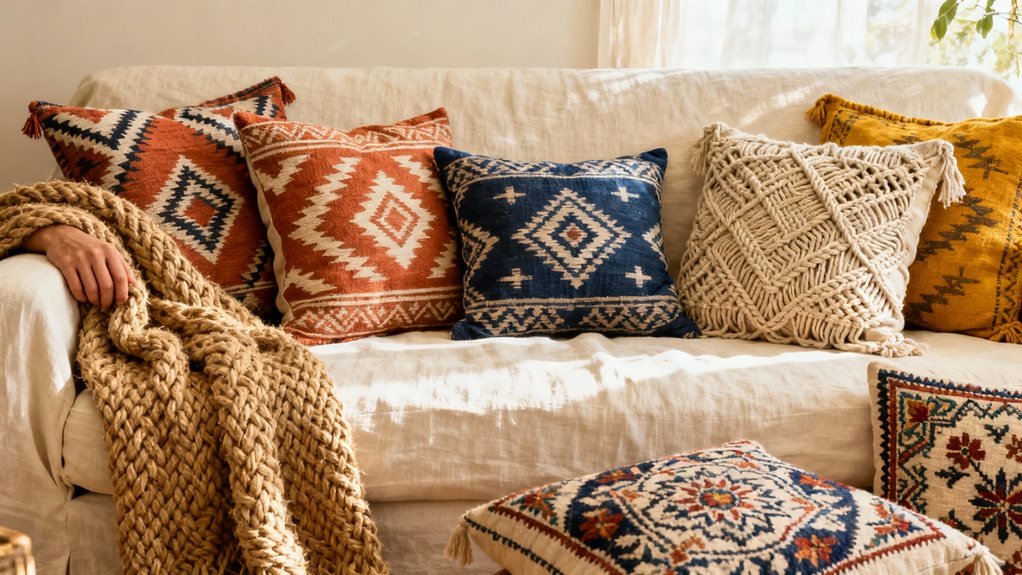
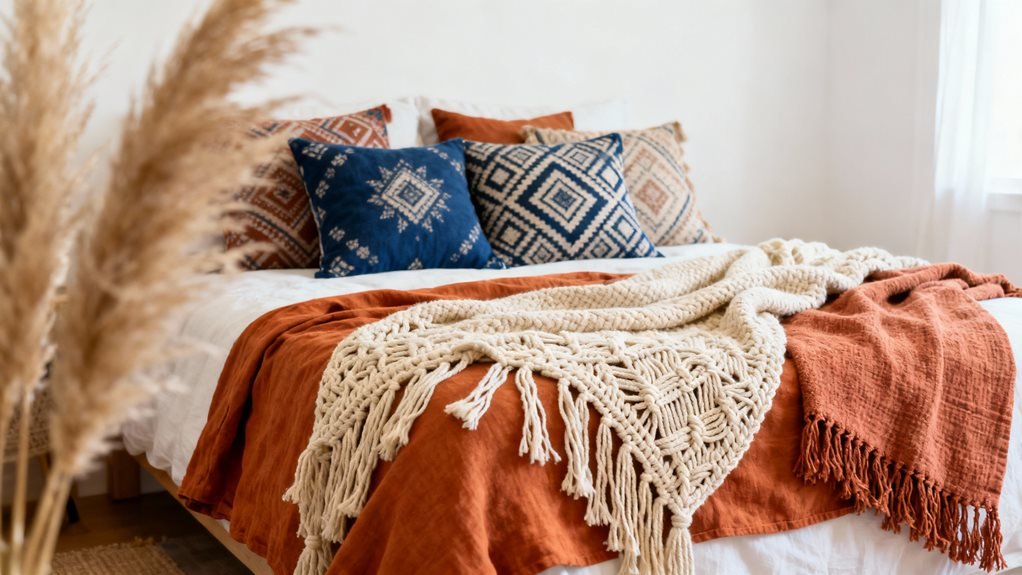
Build Comfort Through Layered Textiles on Seating
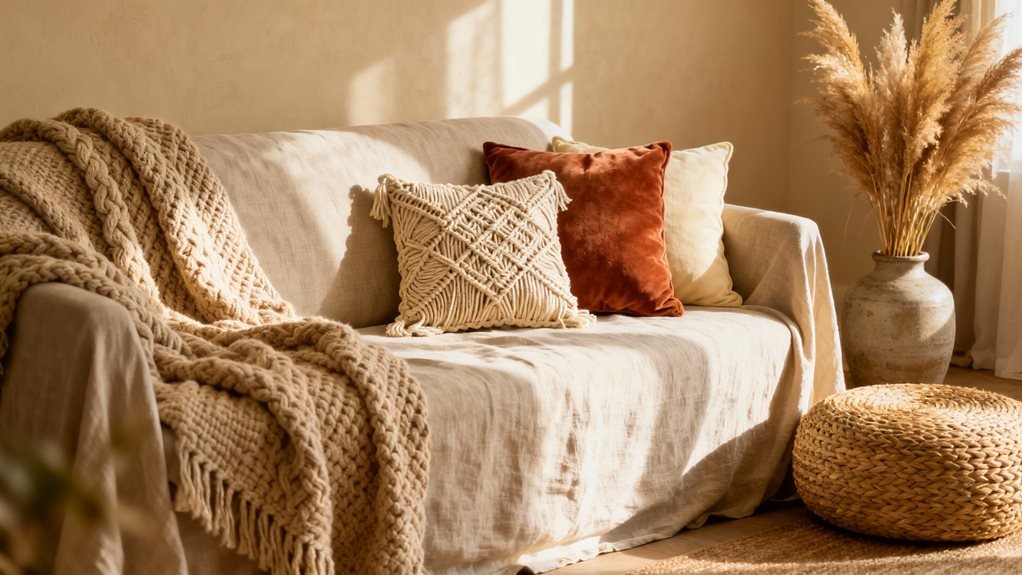
How many times have I walked into a living room that looked beautiful but felt completely uninviting to actually sit in? That’s why I always layer textiles on my seating first—it transforms hard surfaces into cozy nooks.
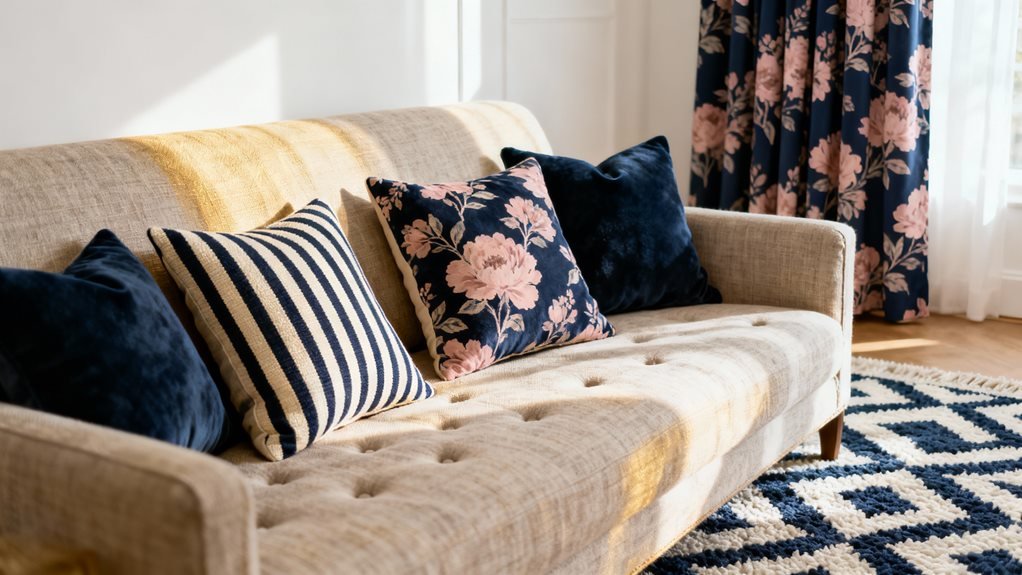
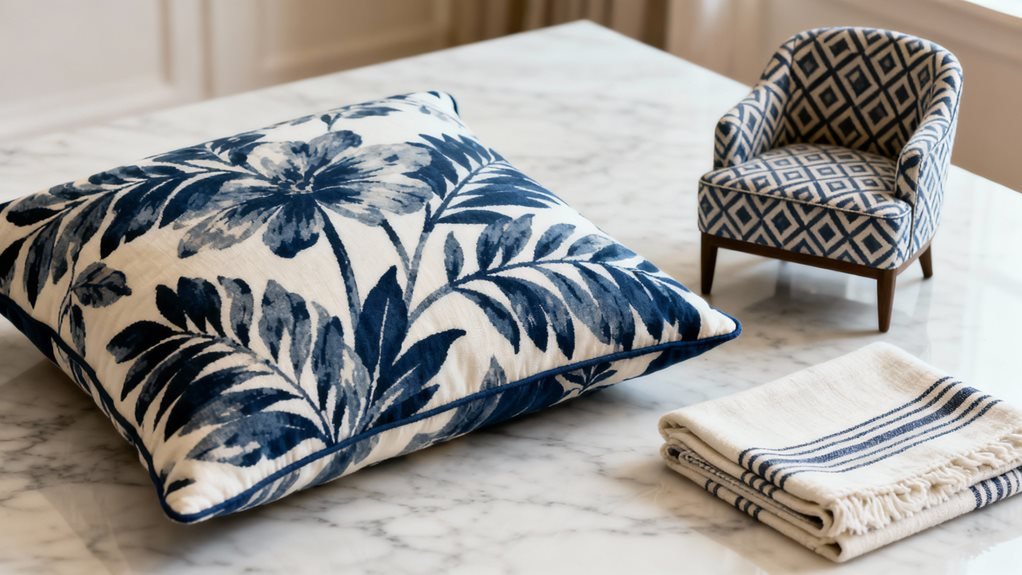
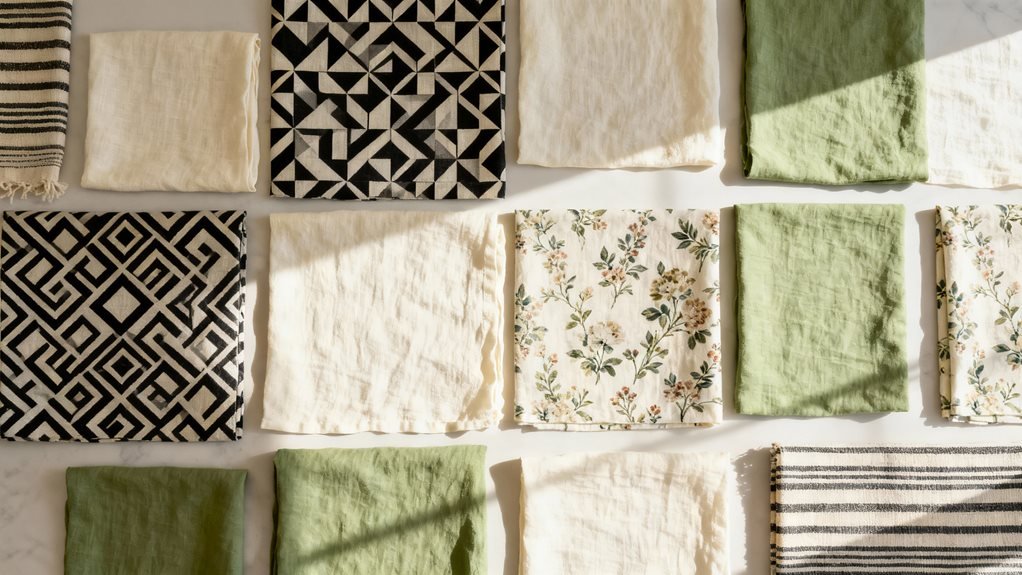
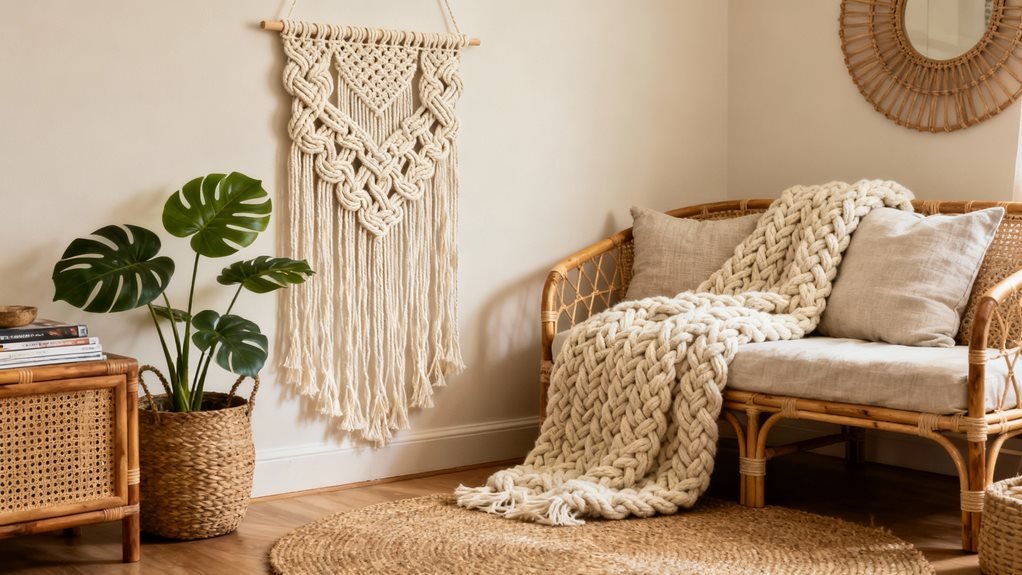
I start by draping a chunky knit throw over the sofa arm. Then I add linen or cotton cushion covers in varying sizes—usually three to five pillows per seating area. I mix textures: a nubby boucle pillow next to smooth velvet, then a macramé or fringed option for visual interest.
Don’t match everything perfectly. I’ve learned that slightly mismatched patterns and textures create that effortless boho vibe. Try pairing geometric prints with organic shapes, or solid textured pieces with subtle patterns.
The key is making seating look so inviting that guests immediately want to curl up. When someone reaches for your throw blanket without asking, you’ve nailed it.
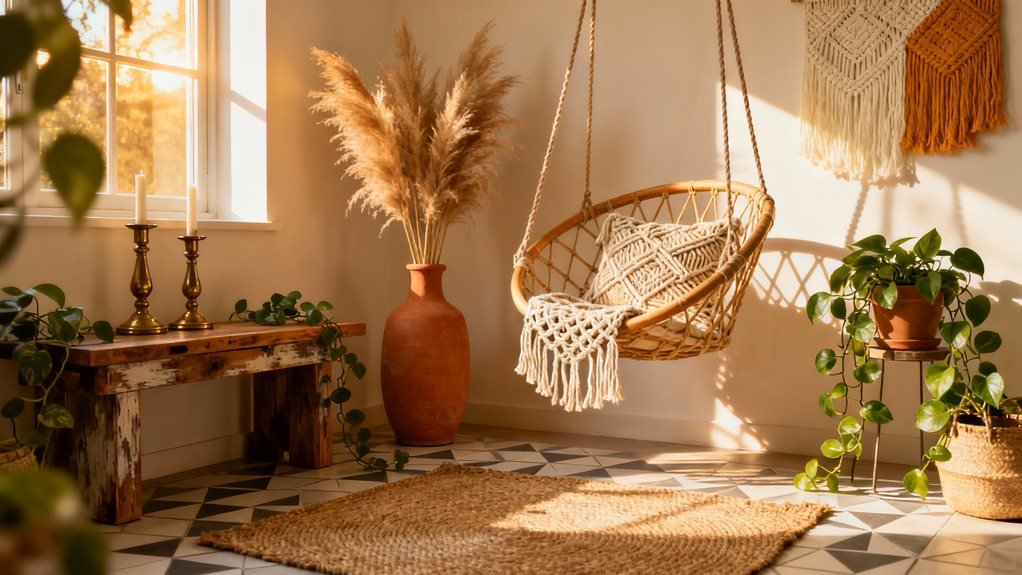
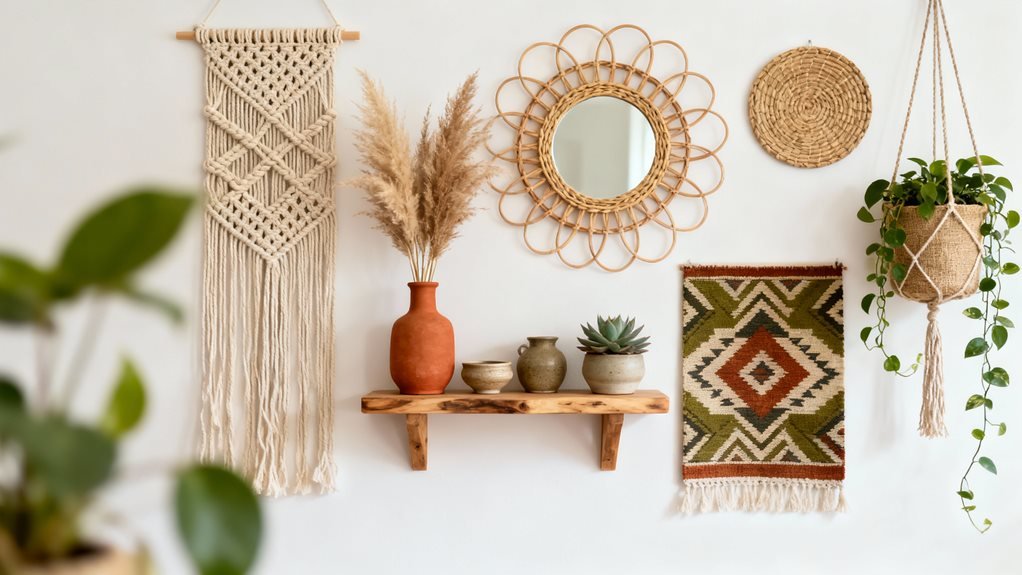
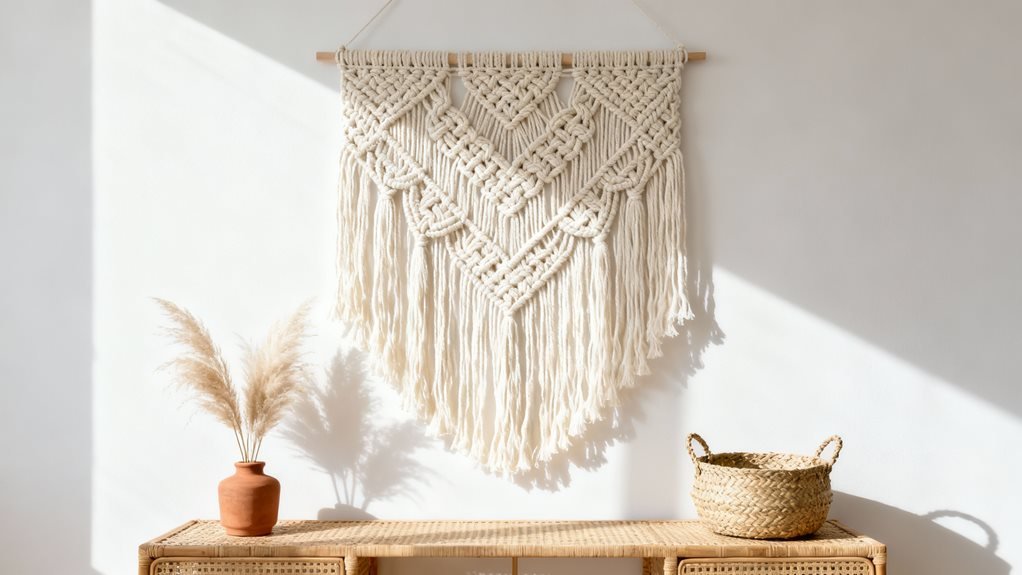
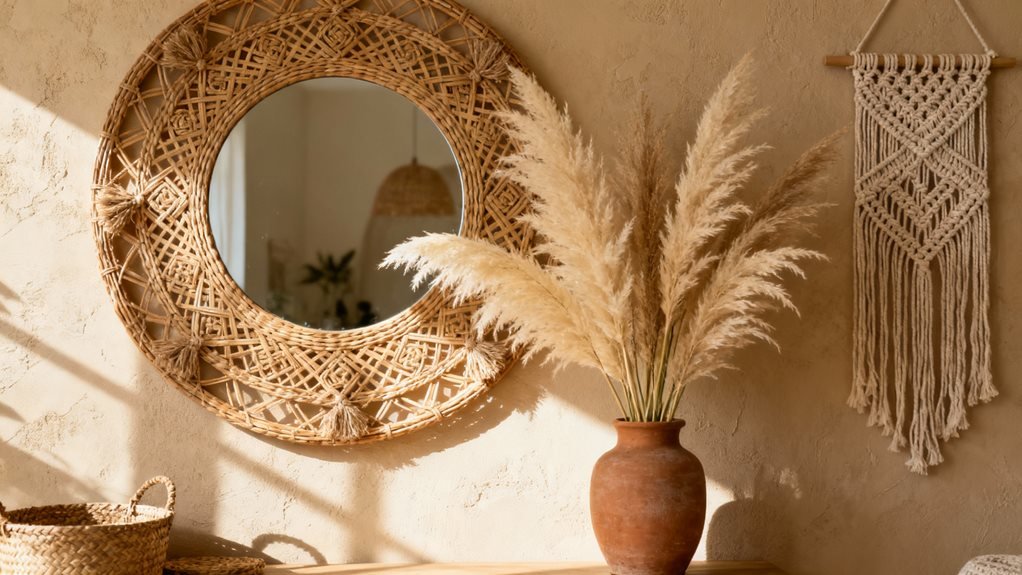
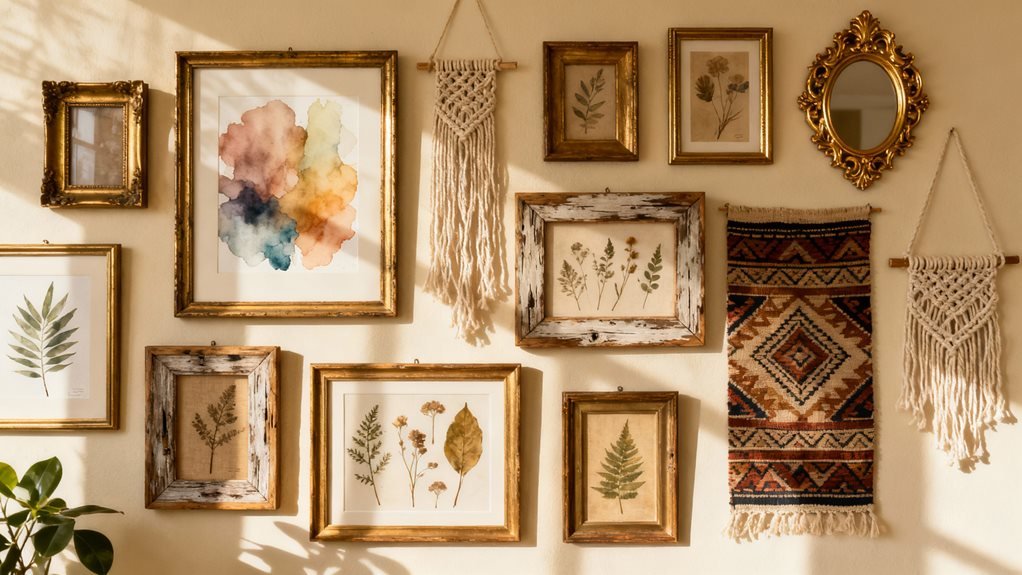
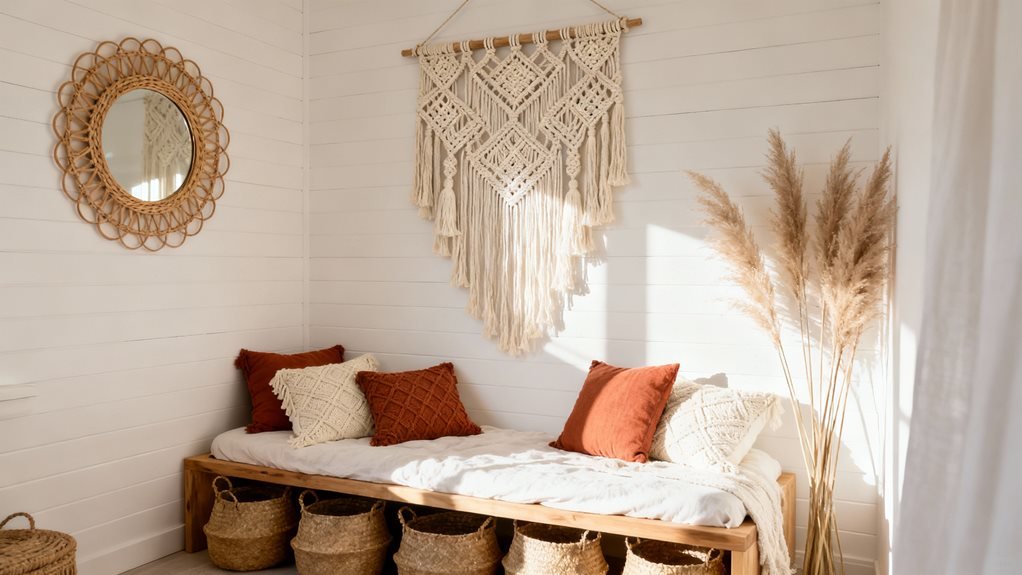
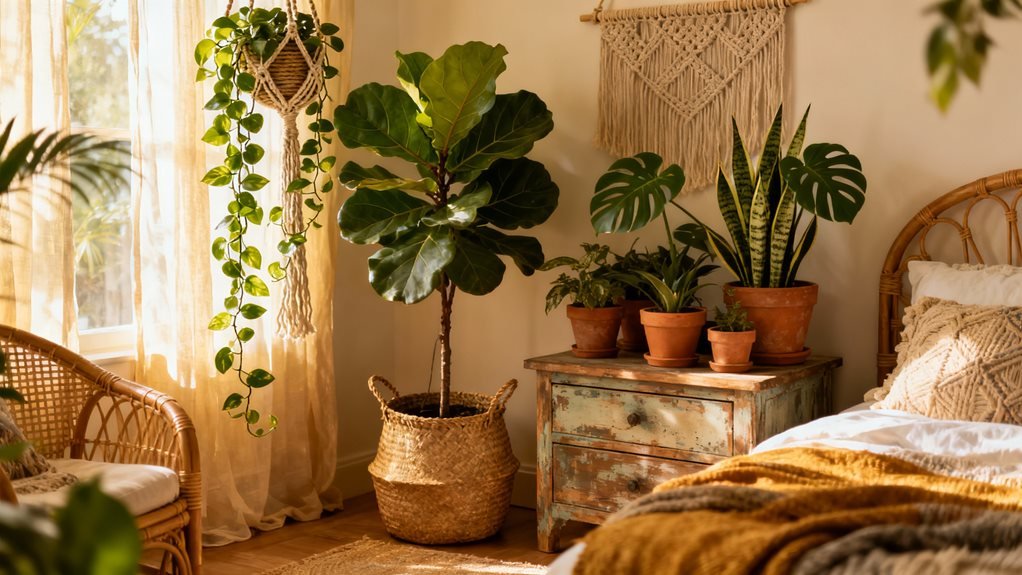
Add Dimensional Interest With Woven Wall Hangings
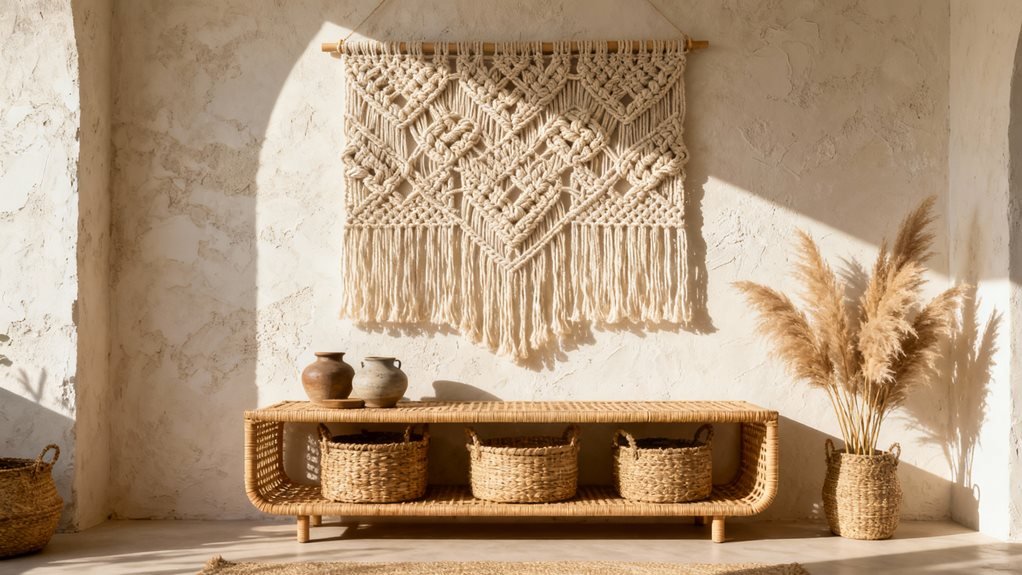
When I hung my first macramé piece above the sofa, I finally understood what my living room was missing—actual depth on the walls. Flat art has its place, but woven hangings cast shadows and create movement that paintings can’t replicate.
I’ve learned size matters tremendously. A small piece on a large wall disappears, so I aim for hangings that span at least two-thirds of my furniture’s width. My favorite spot is above the couch, where the texture creates a focal point that draws eyes upward.
Mix different weaving styles for visual interest. I pair tight macramé knots with loose, shaggy pieces. Natural fibers like jute and cotton work best—they photograph beautifully and age gracefully.
Don’t limit yourself to one. I’ve created a gallery wall combining three smaller weavings with dried pampas grass. The varied textures bounce light differently throughout the day, keeping my space dynamic.
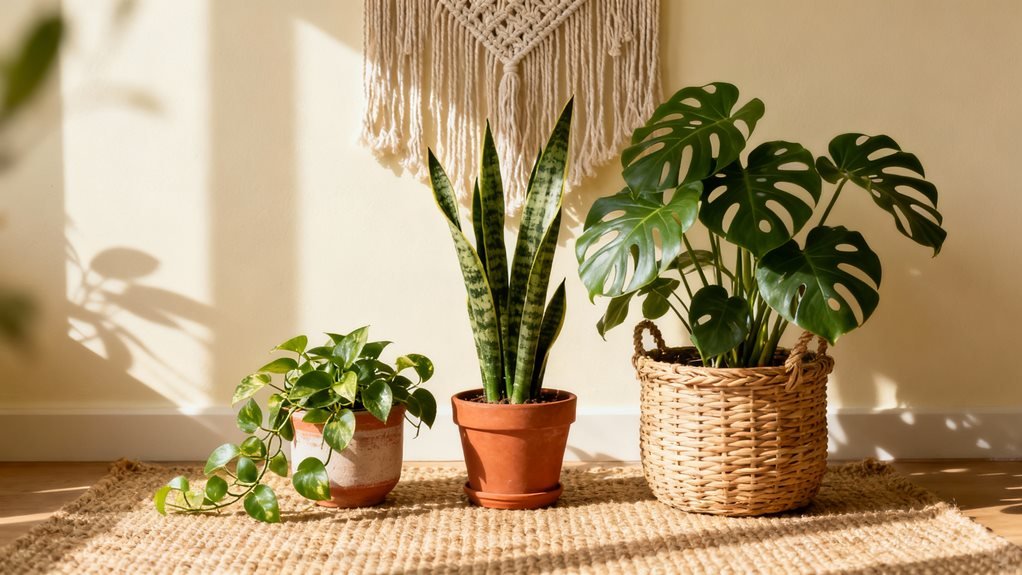
Incorporate Macramé and Knotted Accents Throughout
I’ve scattered macramé pieces throughout my living room, and I’ve learned that strategic placement makes all the difference—a large wall hanging behind the sofa creates a stunning focal point, while smaller knotted accents on side tables and shelves tie the whole look together. My favorite trick is hanging macramé plant holders at varying heights near windows, which adds vertical interest and makes the space feel fuller without cluttering surfaces. When mixing different knotted textures, I stick to a consistent color palette (usually neutrals with one accent shade) so the intricate patterns shine without overwhelming the room.
Wall Hanging Placement Ideas
Above your sofa or bed, a large macramé wall hanging becomes an instant focal point that anchors the entire boho vibe of your space. I’ve found that positioning it slightly off-center creates visual interest without looking cluttered.
For smaller pieces, I cluster three knotted hangings at varying heights near doorways or windows. This creates depth and draws the eye naturally through the room.
Don’t overlook awkward corners—they’re perfect spots for cascading macramé planters that add vertical texture. I’ve also hung woven pieces above console tables and floating shelves to connect different zones.
Here’s my trick: step back frequently while positioning. What looks centered up close often needs adjustment from seating areas where you’ll actually view it daily.
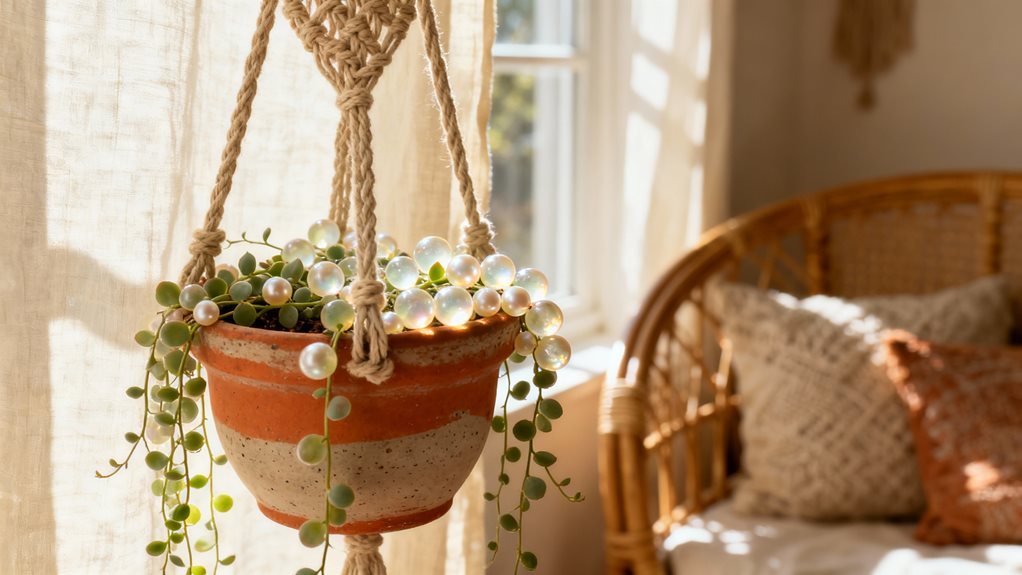
Macramé Plant Hanger Styling
Macramé plant hangers transform greenery into floating sculptures that add dimension without eating up precious floor space. I’ve hung three different lengths in my corner reading nook, creating a cascading effect that draws the eye upward. The key is mixing plants with varying leaf textures—I pair trailing pothos with structured snake plants.
| Hanger Style | Best Plant Match | Ideal Height |
|---|---|---|
| Single Strand | Pothos, Philodendron | 36-48 inches |
| Spiral Twist | Spider Plant, Ferns | 30-40 inches |
| Beaded Design | String of Pearls | 24-36 inches |
| Wide Basket | Snake Plant, ZZ Plant | 40-50 inches |
| Minimalist Cord | Air Plants, Succulents | 20-30 inches |
Hang them at staggered heights near windows where natural light enhances both the plants and intricate knotwork shadows.
Knotted Texture Mixing Tips
When I started layering knotted textures beyond just plant hangers, my living room finally achieved that collected-over-time boho feel I’d been chasing. I discovered that mixing different knotting styles prevents that matchy-matchy catalog look.
Here’s what transformed my space:
- Combine thick and thin knots – I paired chunky macramé wall hangings with delicate knotted throw pillow corners, creating visual interest that draws your eye around the room
- Mix cotton with jute – The contrast between soft cotton knots and rougher jute rope adds unexpected depth
- Vary the knot patterns – Square knots, spiral knots, and lark’s head knots each have distinct personalities
I keep a small knotted basket near my sofa and draped a fringed throw over my armchair. These simple additions made everything feel intentionally layered.
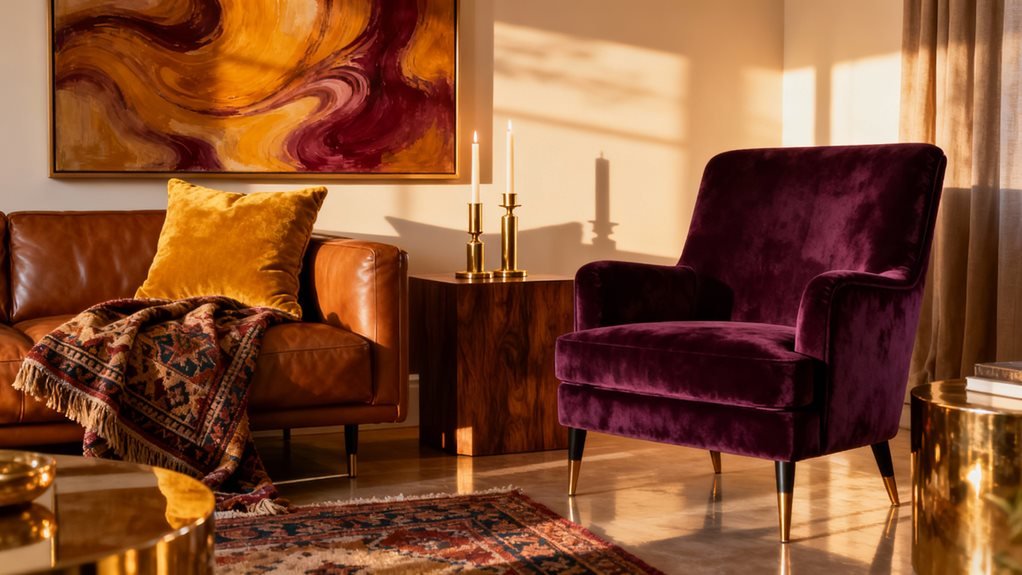
Mix Hard and Soft Surfaces for Visual Balance
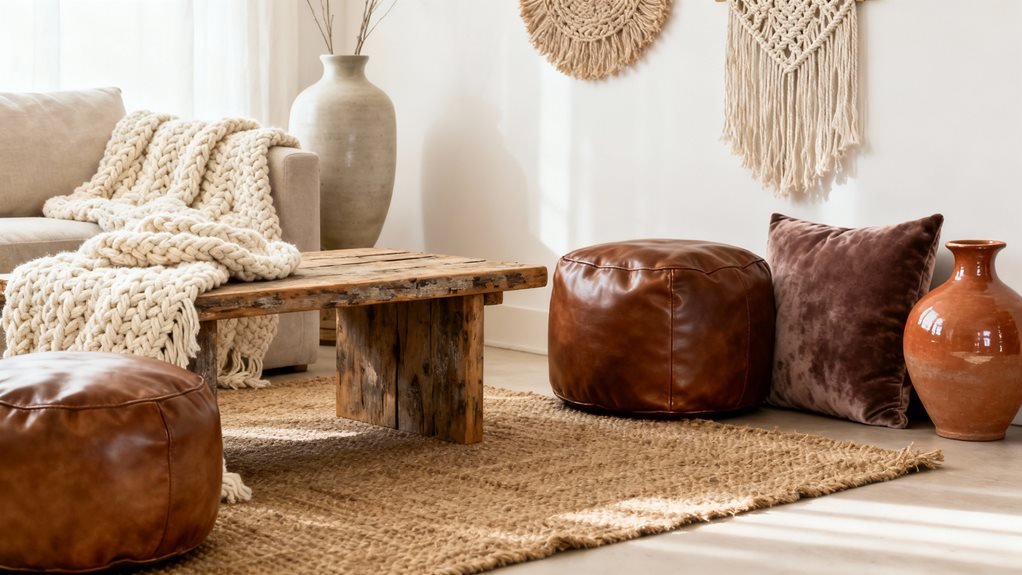
I’ve learned that the secret to a room that feels inviting rather than overwhelming is balancing rough textures with soft ones. When I pair my chunky wooden coffee table with a pile of velvet cushions, or drape a knitted throw over my metal-framed chair, the space instantly feels more livable. Try placing smooth stone coasters on plush fabric surfaces, or rest woven baskets against sleek furniture—this interplay creates depth that makes you want to sink in and stay awhile.
Wood Meets Plush Textiles
One of my favorite tricks for creating that signature boho warmth is pairing rough-hewn wood with touchably soft textiles. I’ll drape a chunky knit throw over my reclaimed wood coffee table, and suddenly the whole room feels inviting.
Here’s how I create this contrast:
- Layer sheepskin rugs over weathered wood floors – the juxtaposition makes you want to kick off your shoes immediately
- Rest velvet pillows against wooden chair backs – it’s like giving your furniture a warm hug
- Place woven baskets filled with soft blankets beside raw wood shelving – practical storage that doubles as texture play
The key is letting each material shine. Don’t hide your beautiful wood pieces; let plush textiles soften their edges naturally.
Stone Accents With Cushions
Natural stone surfaces bring an earthy grounding element to boho spaces, but they’ll make your room feel cold and uninviting without the right balance. I learned this after installing a gorgeous stone coffee table that dominated my living room like a museum piece. The fix? I piled on textured cushions everywhere—velvet floor pillows beside it, a chunky knit throw draped over my sofa nearby.
The contrast works beautifully. Place stone planters on side tables, then soften them with macramé cushions on adjacent seating. I’ve found that pairing slate coasters with fuzzy pillow clusters creates instant warmth. The key is maintaining a 60-40 ratio: for every hard stone element, add softer textiles within arm’s reach. This creates visual tension while keeping comfort front and center.
Metal Frames Plus Throws
Metal furniture frames used to intimidate me—they looked too industrial for the relaxed boho vibe I wanted. Then I discovered the magic of pairing them with soft throws, and everything changed. The contrast creates dimension that makes a room feel intentionally designed rather than randomly decorated.
Here’s how I balance metal with textiles:
- Drape a chunky knit throw over metal chair arms to soften sharp edges
- Layer a woven blanket across iron bed frames for warmth against cool surfaces
- Toss textured pillows onto metal-framed benches to invite people to sit
The key is treating metal as your foundation—it provides structure—while throws add the cozy, lived-in feeling. This combination keeps your space from feeling either too stark or overwhelmingly plush.
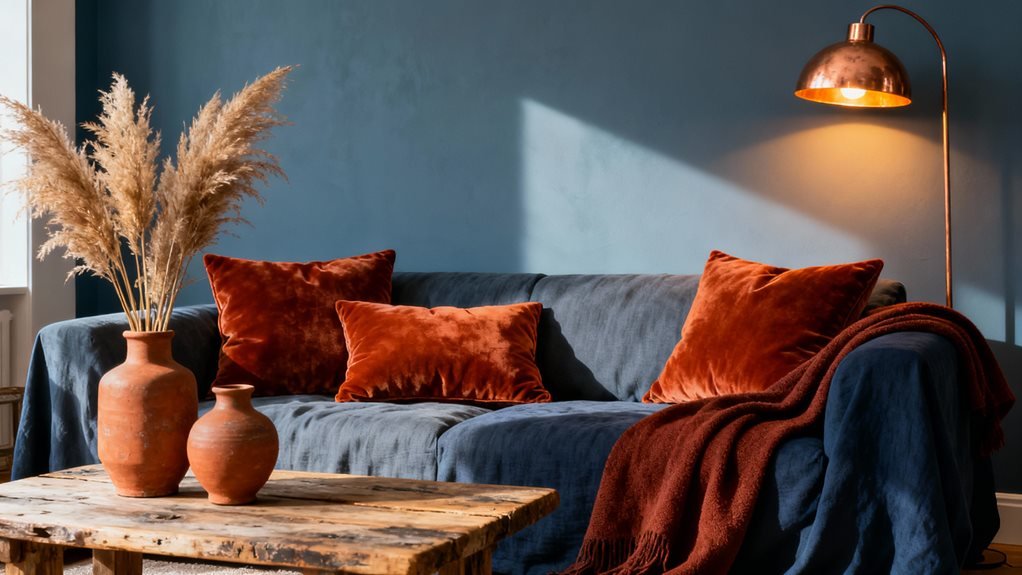
Create Depth With Varied Throw Pillows and Blankets
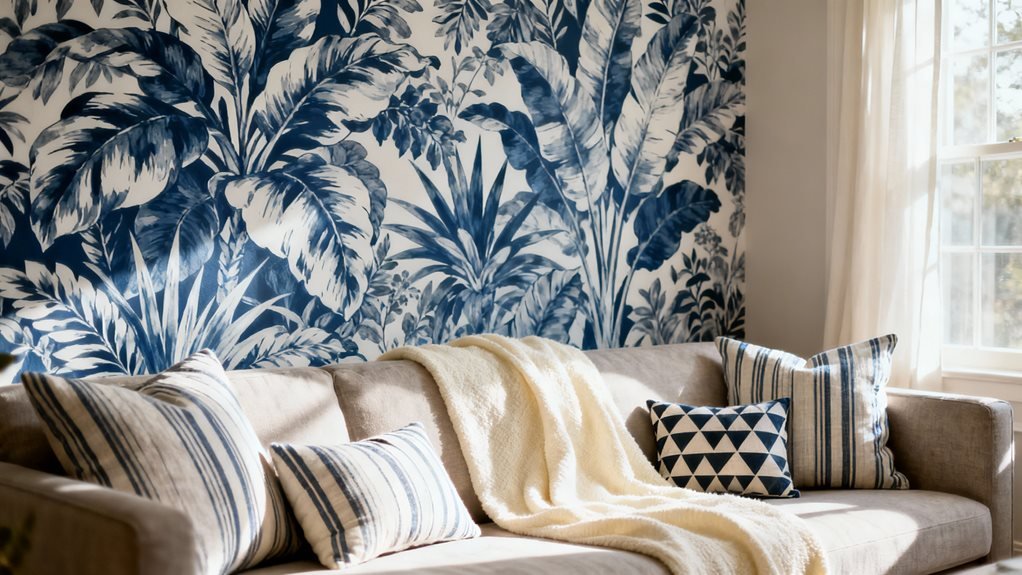
Throw pillows and blankets are my secret weapon for transforming a flat, boring couch into a textured bohemian haven. I’ve learned that mixing sizes, patterns, and materials creates visual interest that pulls the whole room together.
I always start with larger pillows in the back and layer smaller ones in front. Then I drape a chunky knit blanket over one arm and fold a lighter throw across the seat. This approach instantly adds dimension.
| Texture Type | Best Placement | Visual Effect |
|---|---|---|
| Chunky Knit | Draped over arm | Creates volume |
| Velvet Pillows | Front layer | Adds luxury depth |
| Woven Throws | Folded on seat | Provides structure |
Don’t match everything perfectly—that’s the beauty of boho style. I mix geometric prints with florals, smooth velvets with rough linens. The “imperfect” combinations create that lived-in, collected-over-time aesthetic we’re after.
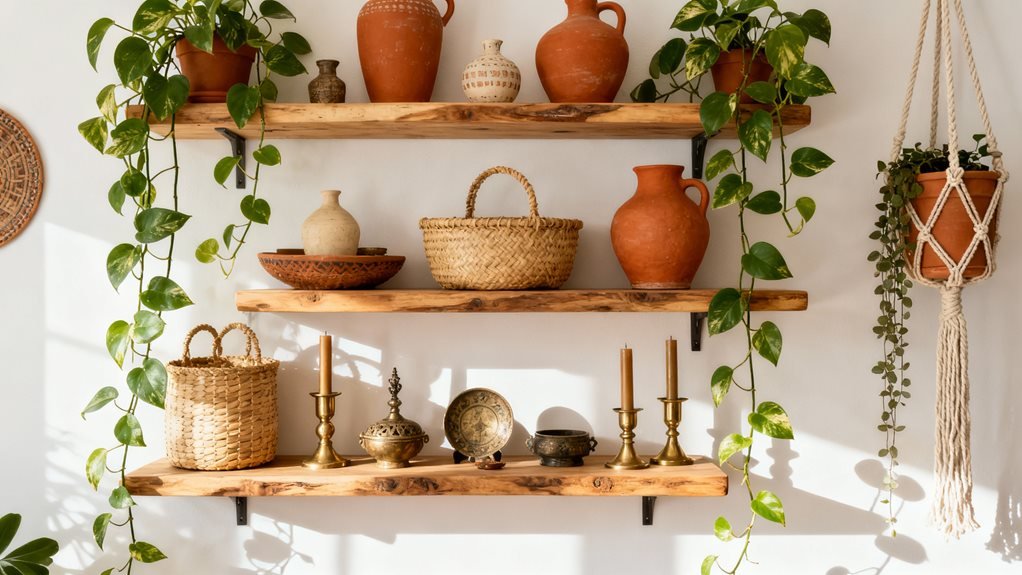
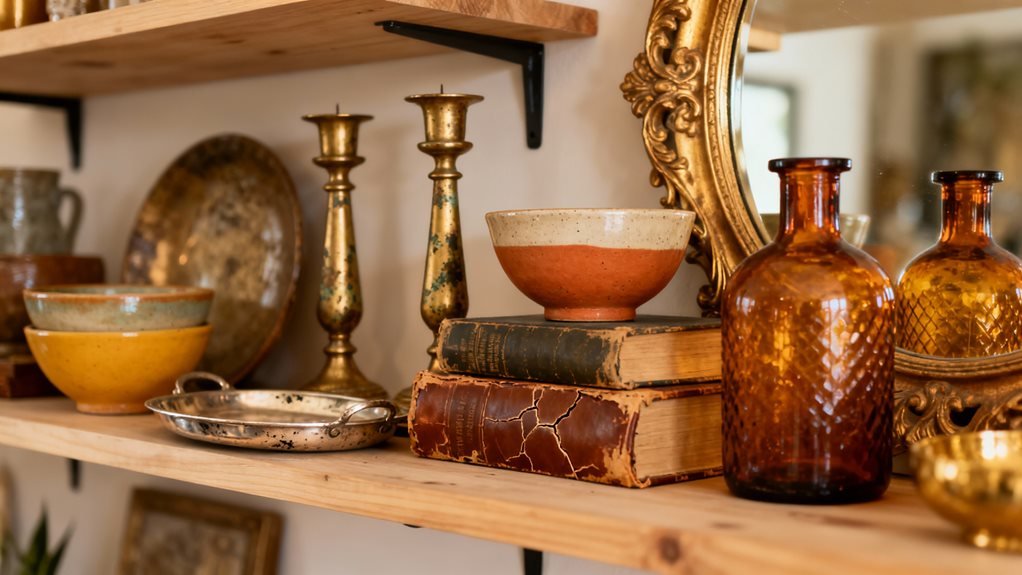
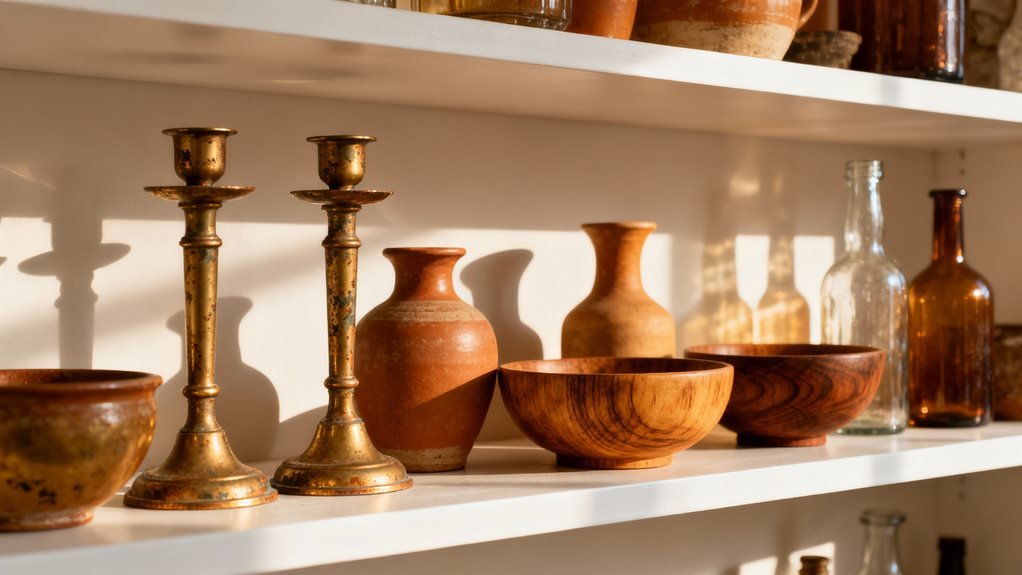
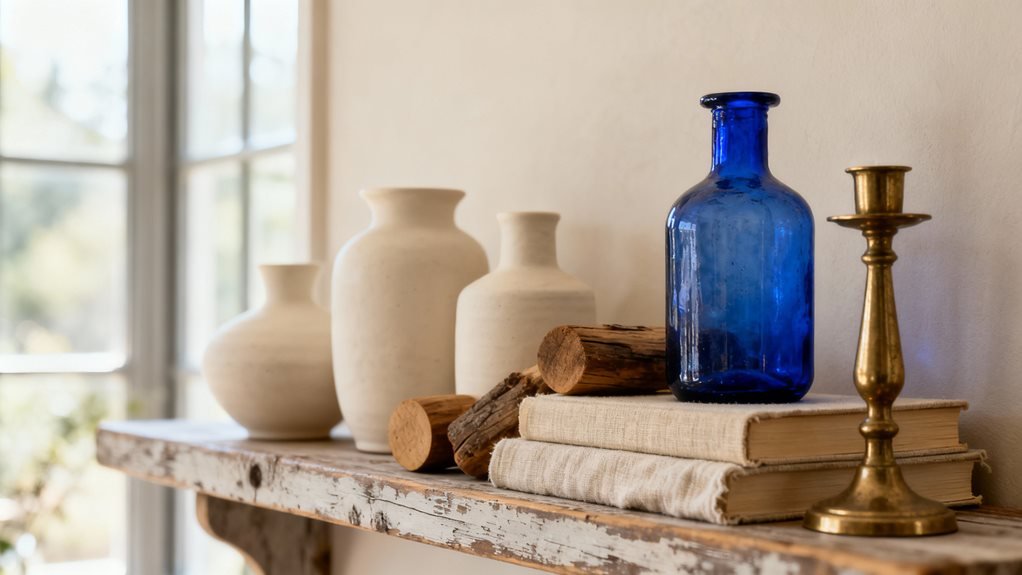
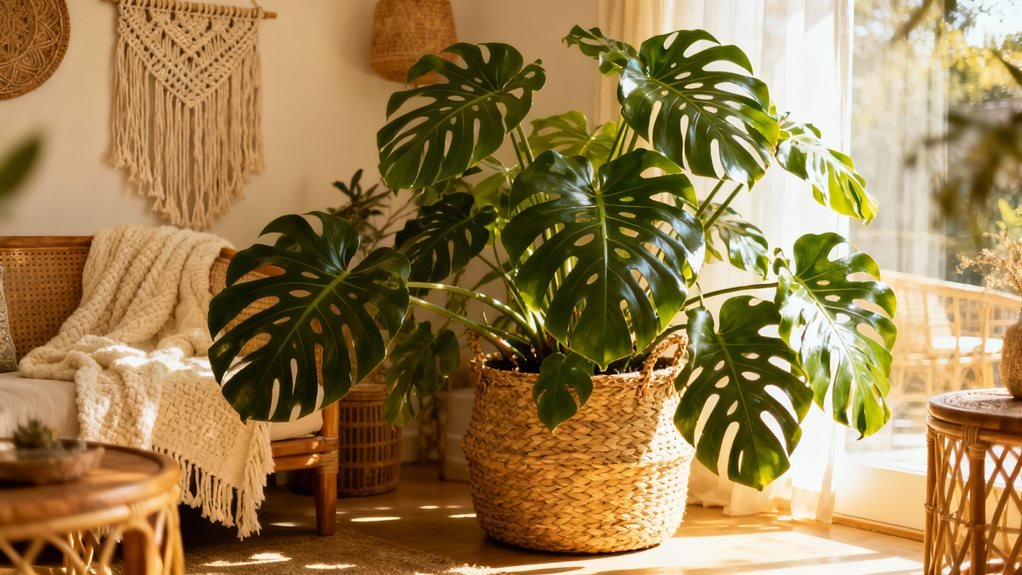
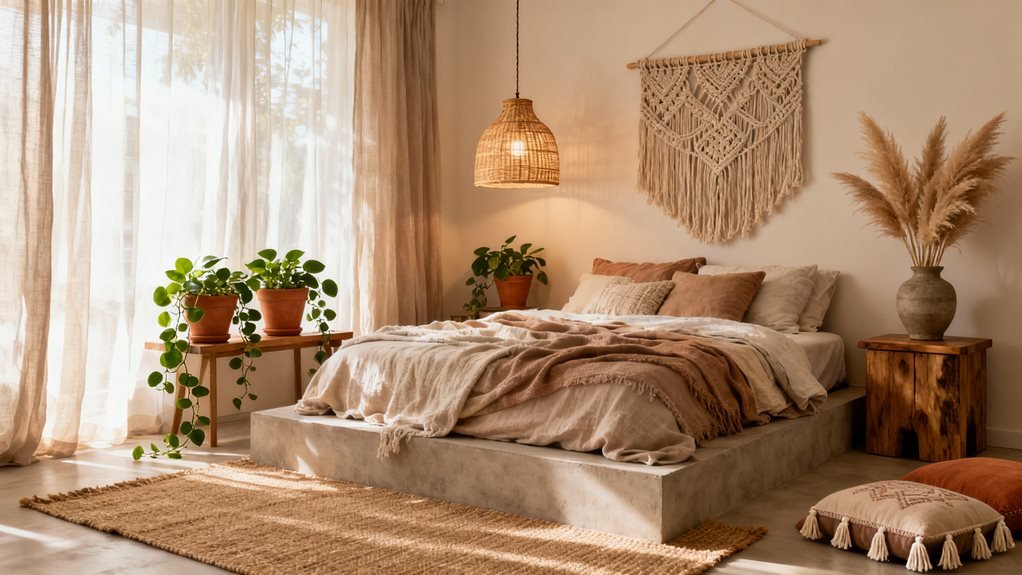
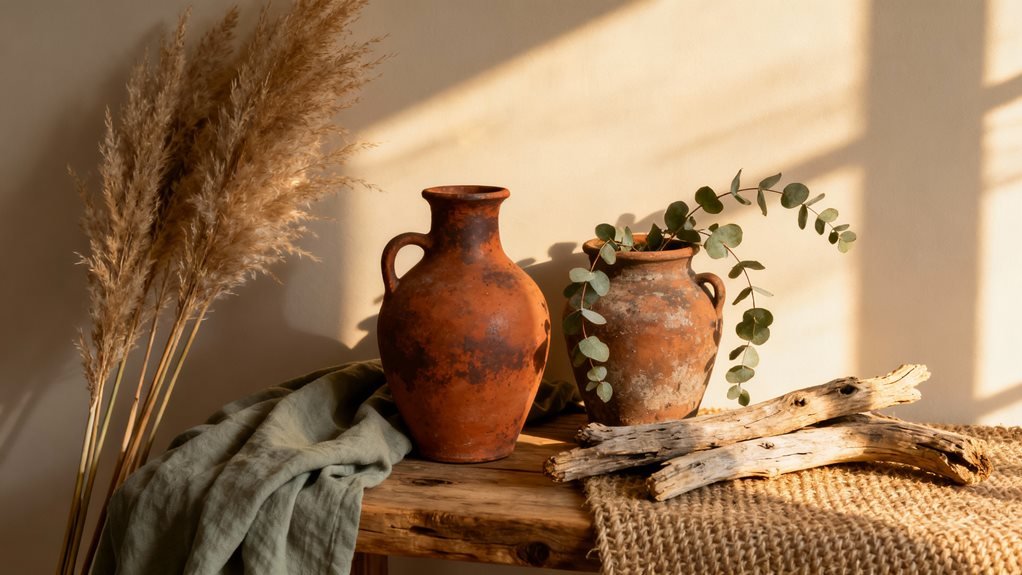
Finish With Organic Elements and Raw Materials
While textiles build up the soft layers, I’ve found that bringing in pieces straight from nature grounds the entire boho look. Raw wood coffee tables, stone planters, and woven seagrass baskets add an earthy foundation that prevents the space from feeling too decorated.
I keep a collection of organic elements that instantly warm up my living room:
- Driftwood branches in ceramic vases – They remind me of beach walks and add sculptural interest without trying too hard
- River rocks clustered on shelves – Smooth stones I’ve collected over the years that bring calm energy to the room
- Dried pampas grass in corners – These feathery plumes soften harsh angles and move gently with air flow
The beauty of organic materials is their imperfection. That knot in the wooden bowl, the irregular weave of a rattan tray – these details make your space feel lived-in and authentically yours rather than showroom-perfect.
Frequently Asked Questions
What Color Palette Works Best for a Boho Living Room?
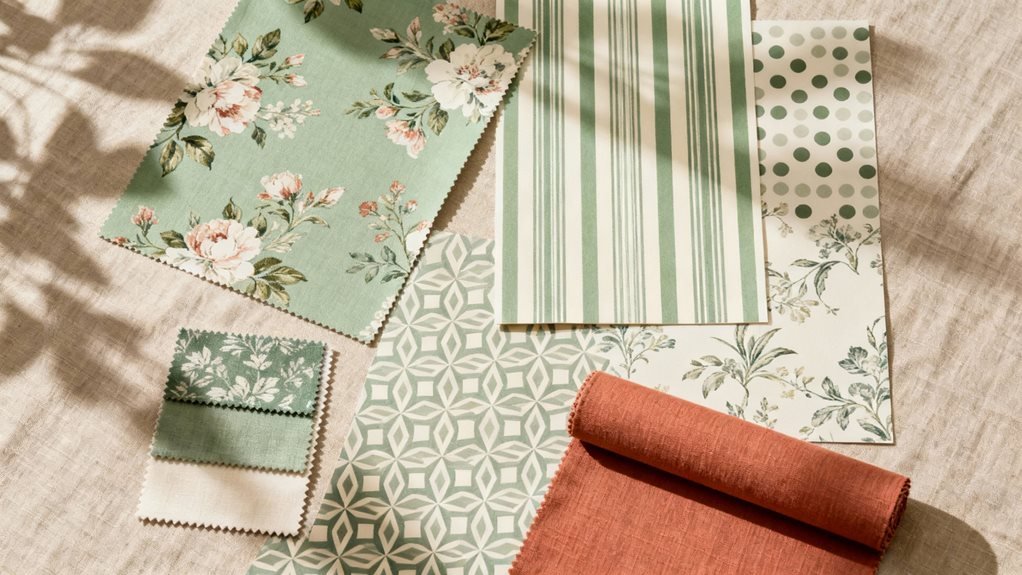
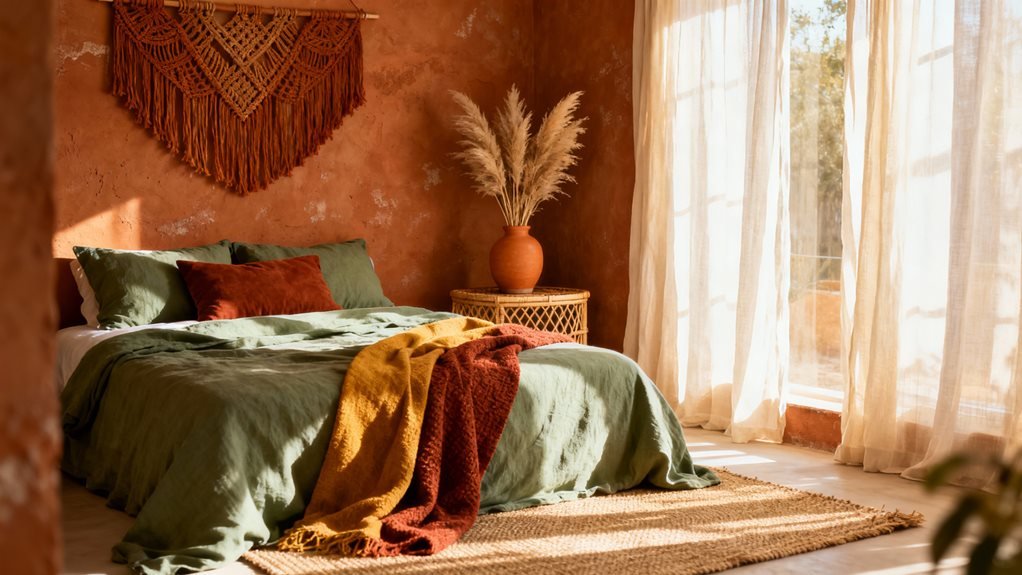
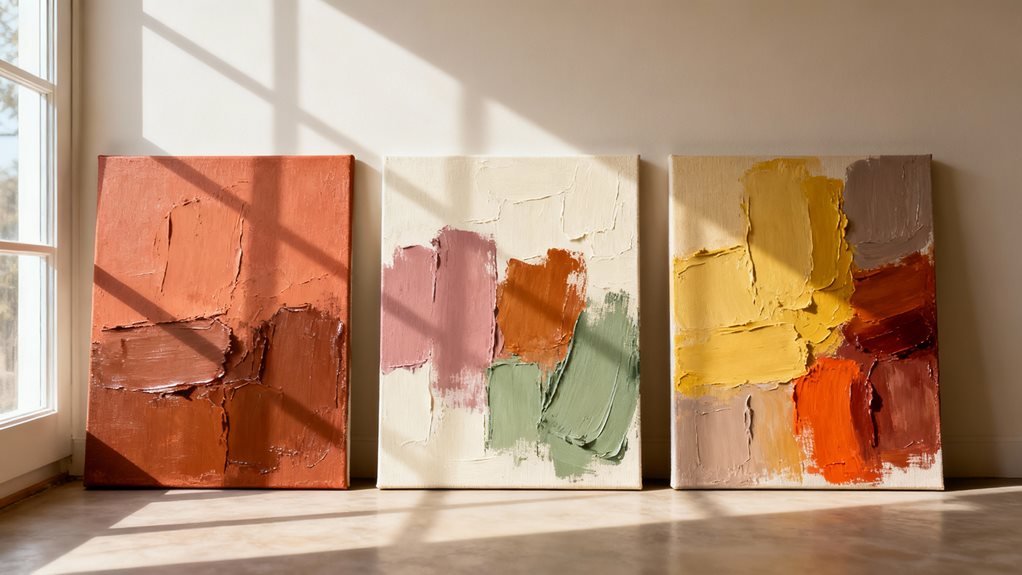
I’ll never forget walking into my friend’s apartment and feeling instantly wrapped in warmth—her secret? Earthy terracotta, creamy whites, and sage greens layered throughout. I recommend starting with a neutral base, then adding burnt orange, mustard yellow, and deep rust tones. Don’t shy away from mixing warm and cool colors—I’ve paired dusty pink with olive green beautifully. The key is choosing shades that feel organic and sun-kissed, like they’ve been naturally weathered over time.
How Do I Prevent a Boho Room From Looking Too Cluttered?
I keep my boho space balanced by following the “rule of three”—grouping decorative items in odd numbers instead of scattering everything around. I’ll also stick to two or three main colors throughout, even with varied patterns. What’s really helped me is creating intentional negative space—I leave some surfaces bare so the eye can rest. Don’t be afraid to edit ruthlessly; I regularly remove pieces that don’t earn their spot!
What’s the Ideal Budget for Creating a Boho Living Room?
I’ll be honest—I created my first boho space for under $300! Funny enough, that’s when a friend asked me the same question you did. Here’s what I’ve learned: you can start with $200-500 for basics, or splurge up to $2,000+ for quality pieces. I always recommend beginning small with thrifted finds and DIY projects. You’ll discover your style without breaking the bank, then invest in statement pieces later.
Can Boho Style Work in Small Living Spaces?
I’ve styled tiny apartments where boho actually thrived. The key is editing—I choose multifunctional pieces like a pouf that’s both seating and storage. I’ll hang one statement macramé piece instead of cluttering walls, and I layer smaller textiles like throw pillows rather than bulky blankets. Vertical space becomes your best friend; I always add floating shelves for plants. Trust me, you don’t need square footage to create that relaxed, layered boho vibe.
How Do I Maintain and Clean Natural Fiber Materials?
I vacuum my jute rugs weekly and spot-clean spills immediately with a damp cloth—never soak them! For rattan furniture, I wipe it down with a slightly damp microfiber cloth and mild soap. Here’s my game-changer: I rotate my natural fiber pieces seasonally to prevent uneven wear. Also, keep them away from direct sunlight and humidity. I learned the hard way that prevention beats restoration—my first sisal rug faded terribly before I figured this out!